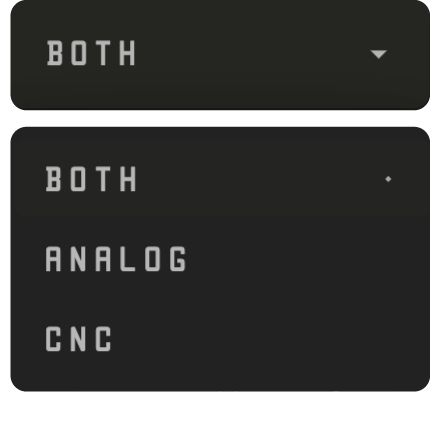
Interface
Setup
Create account and log in.
Use a desktop or large tablet (landscape).
Phones work, but not ideal.
Project actions
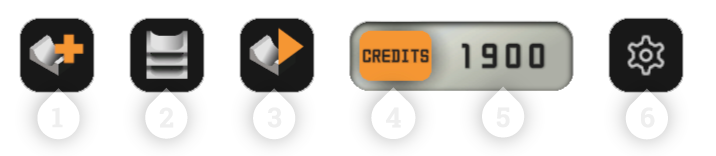
1 Start Project
Create a paid project from Free Mode. Enables saving and exports.
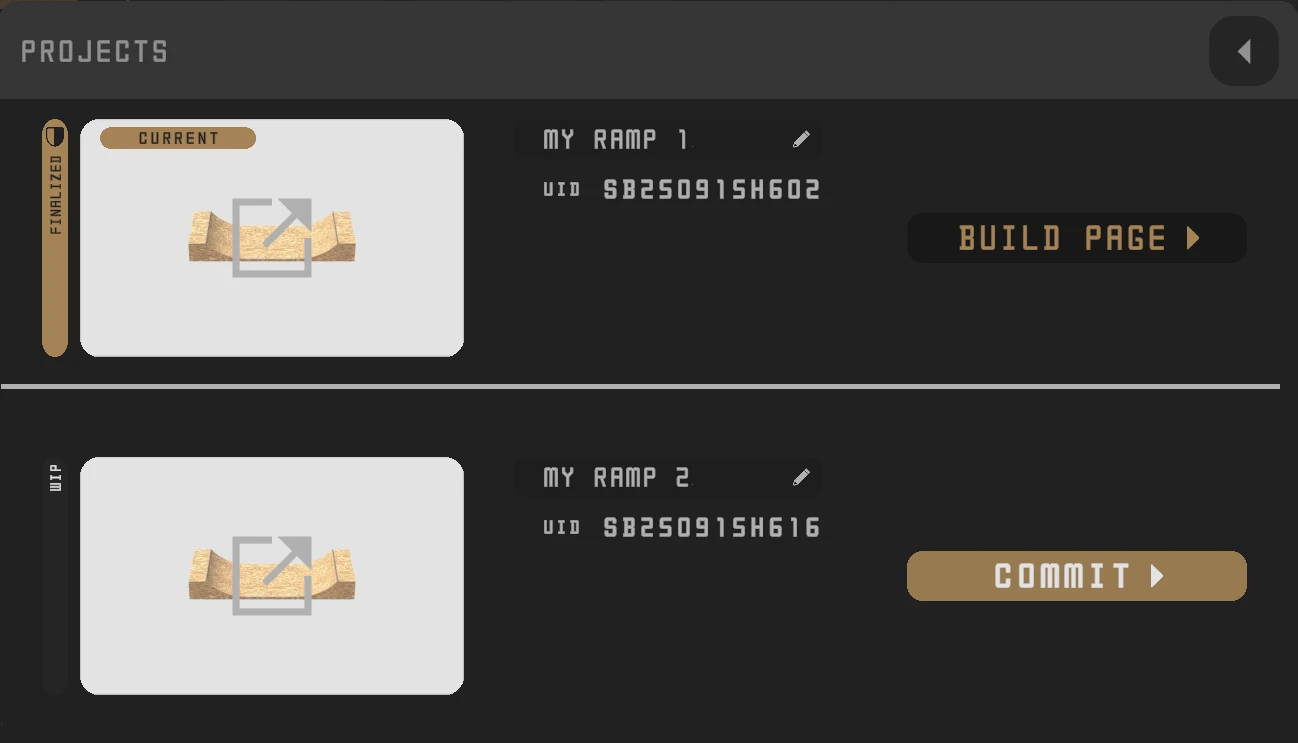
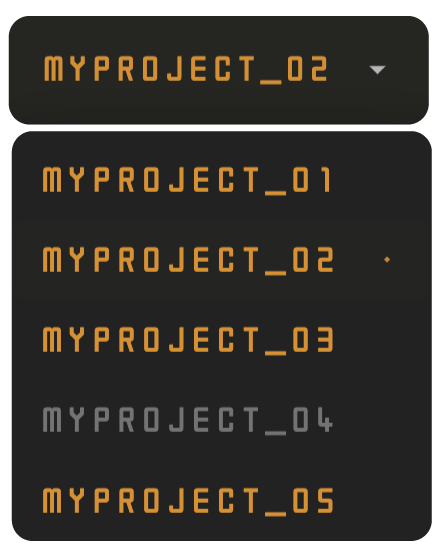
2 Projects Overview
Open your project list.
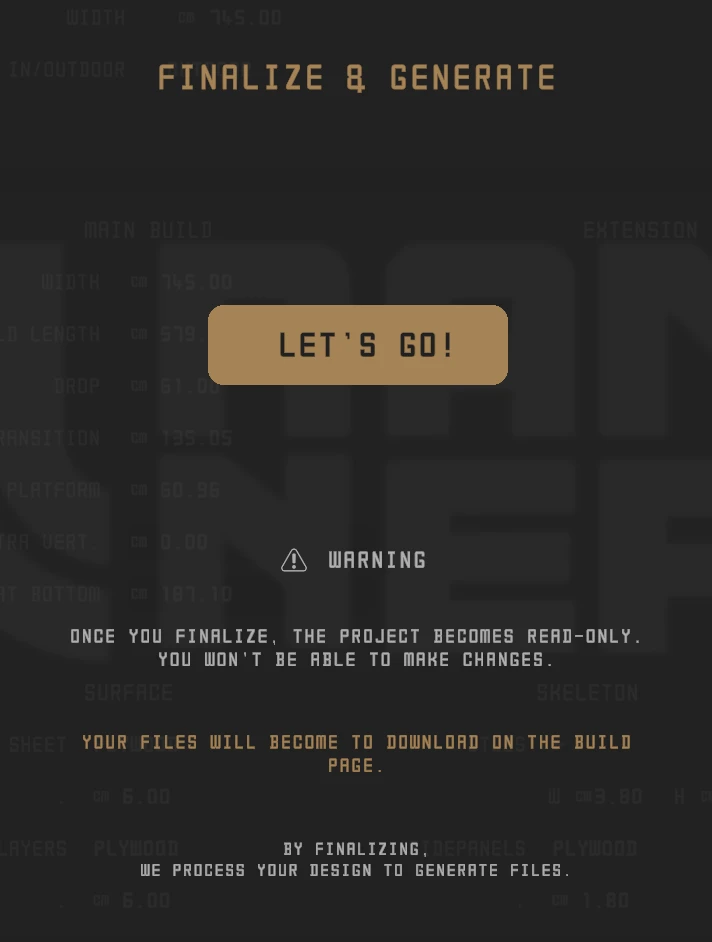
3 Finalize Project
Locks edits and generates build files.
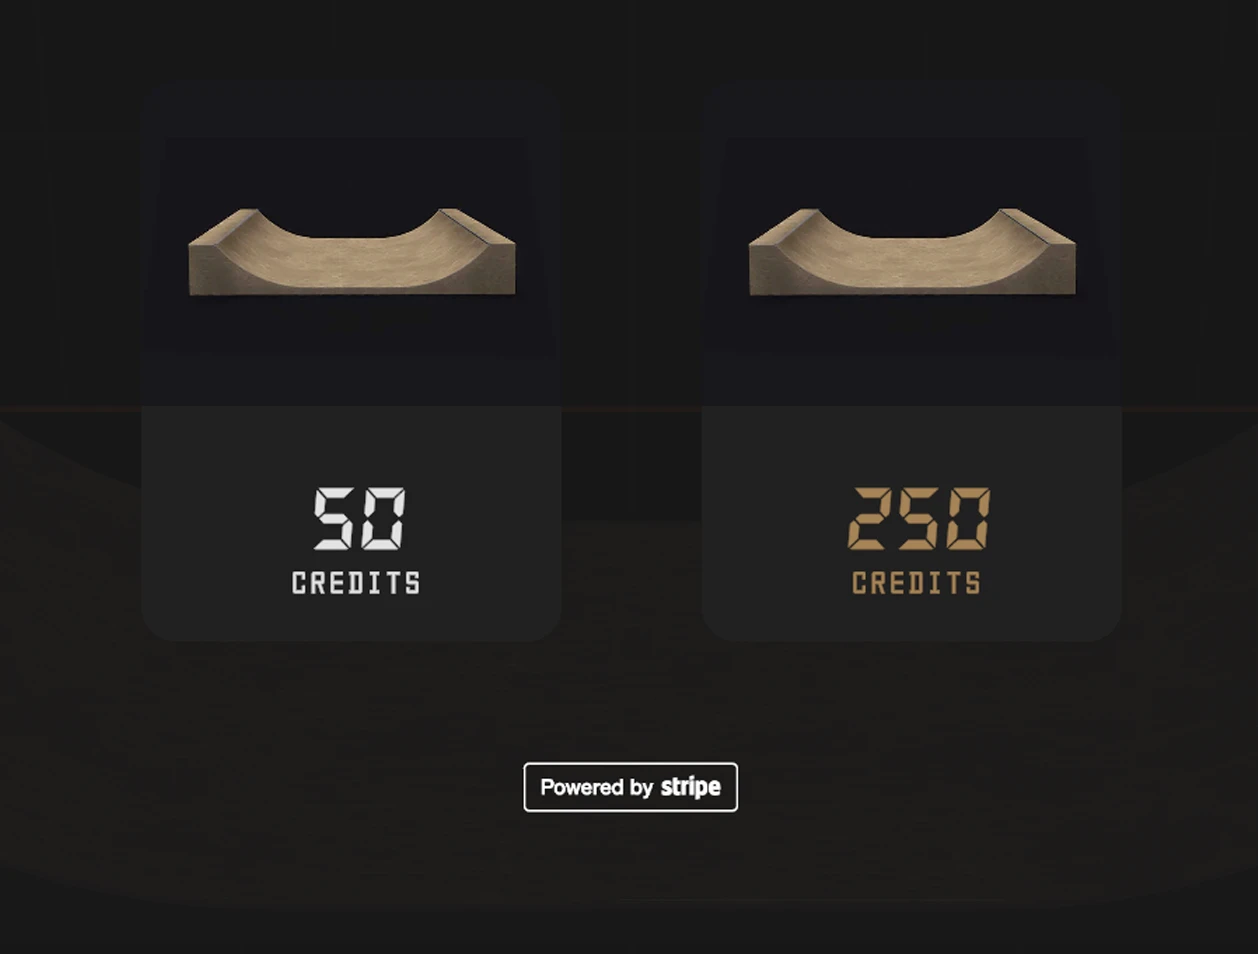
4 Add Credits
Buy credits. Needed to start projects and generate files.
5 Credit Balance
Shows your current credits. Click to top up.
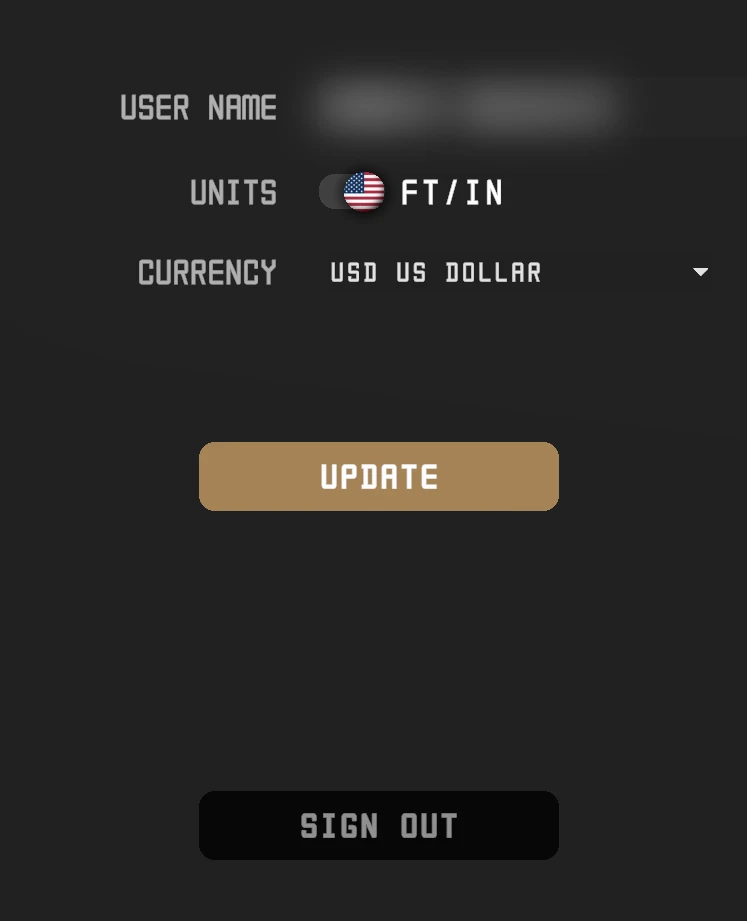
6 Settings
Units and UI preferences.
Design Nav

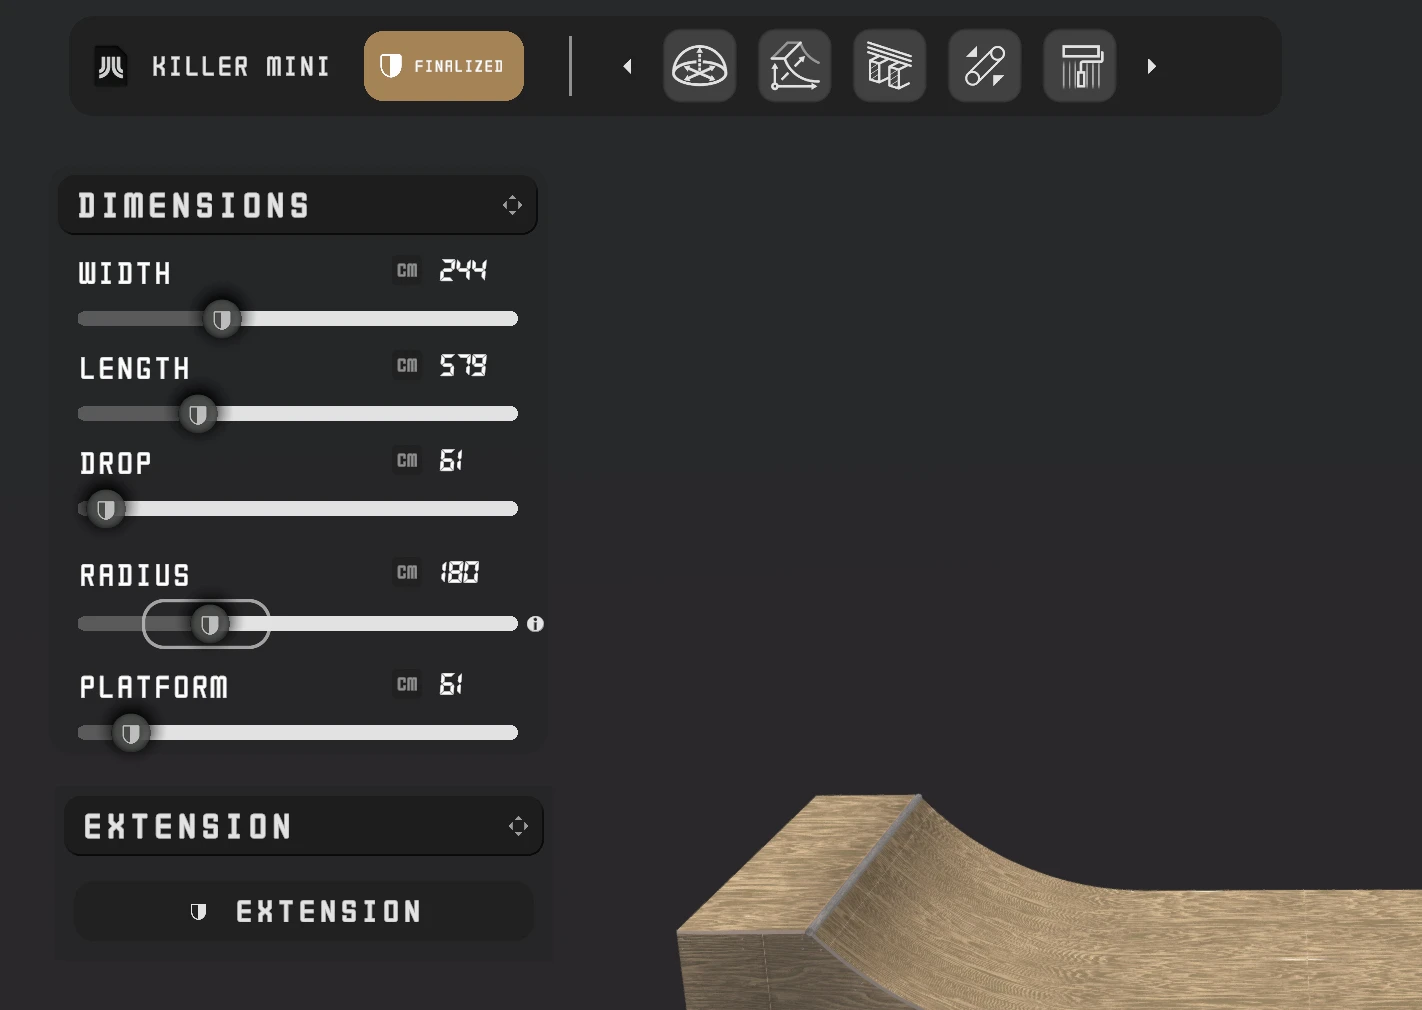
1 Current PROJECT Name
2 Manual Save
Optional. Autosave is on; use Manual Save for peace of mind.
3 Prev Panel
Optional.
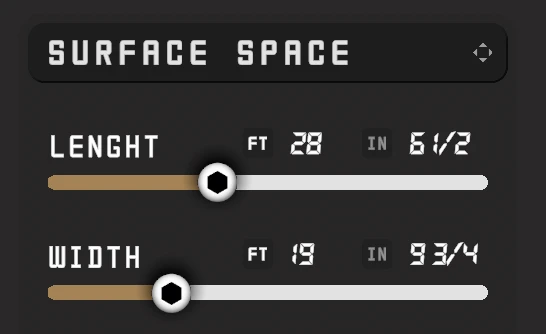
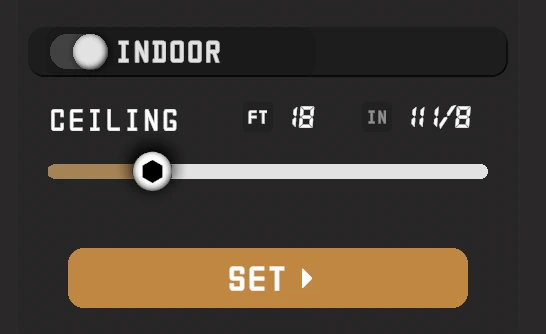
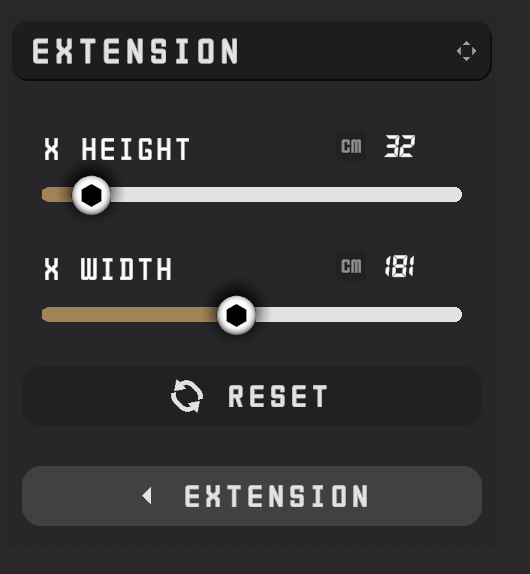
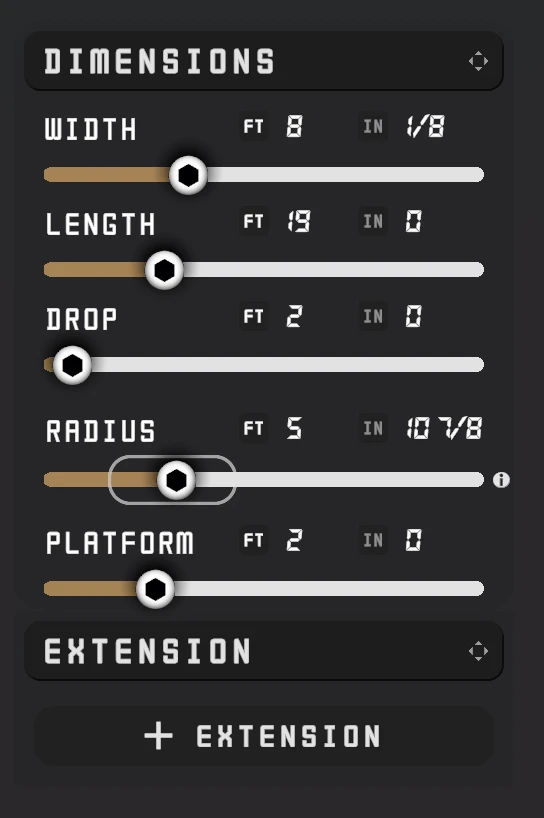
4 Space
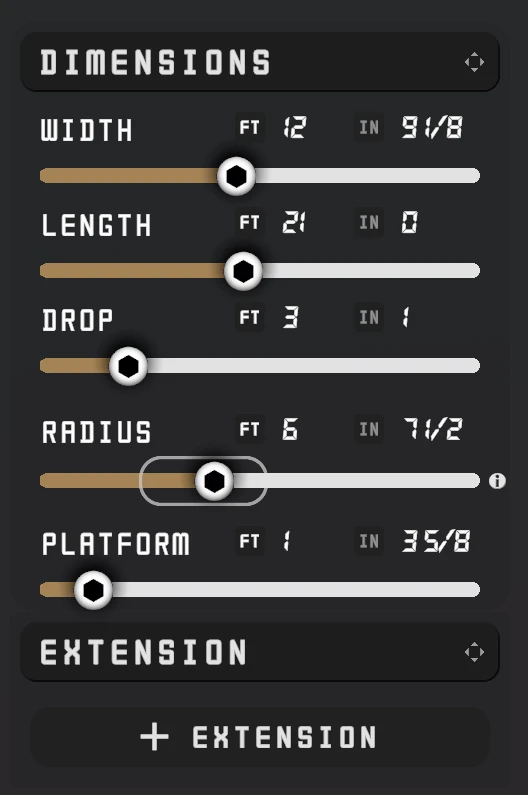
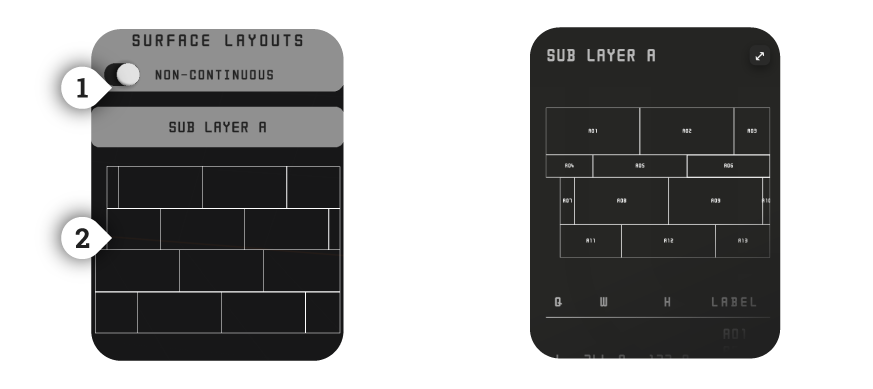
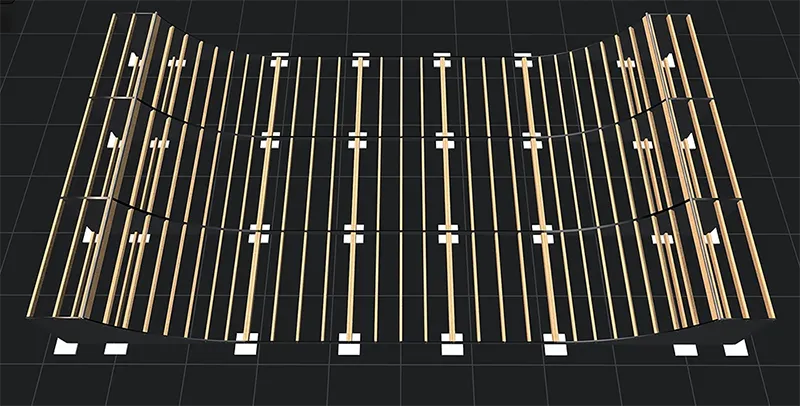
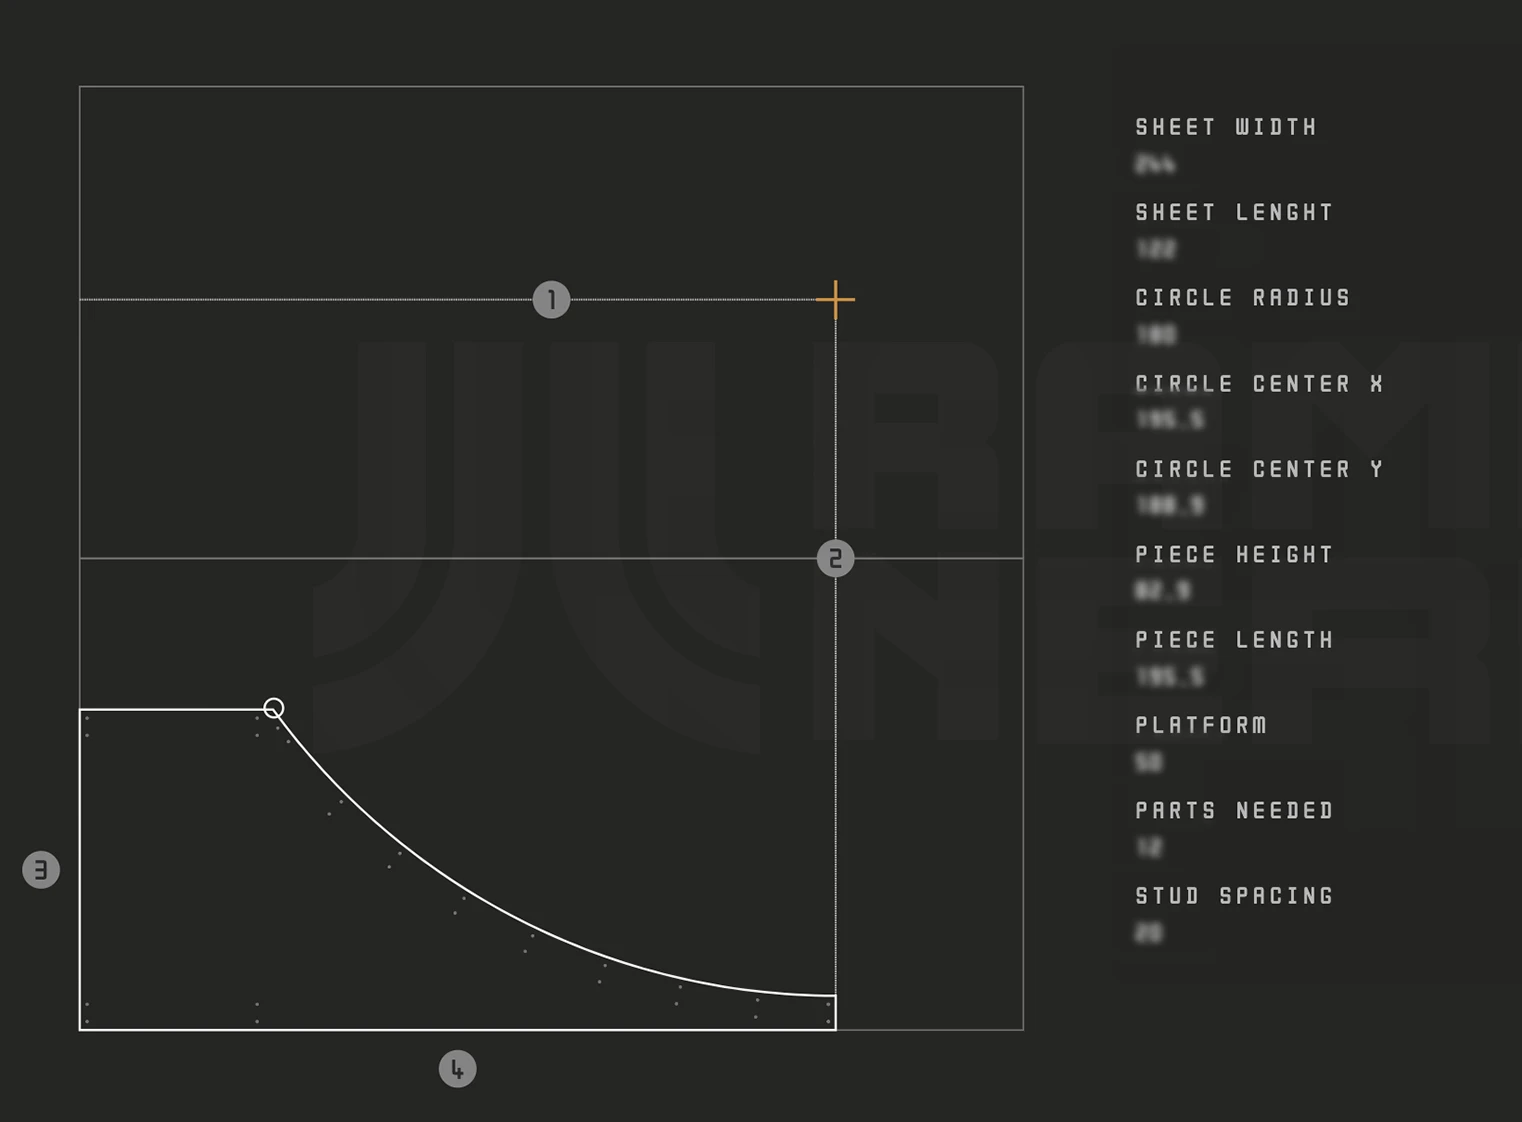
5 Shape
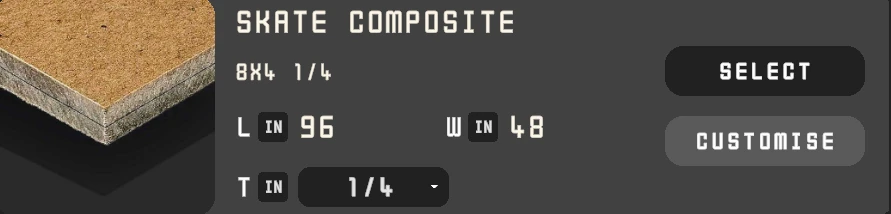
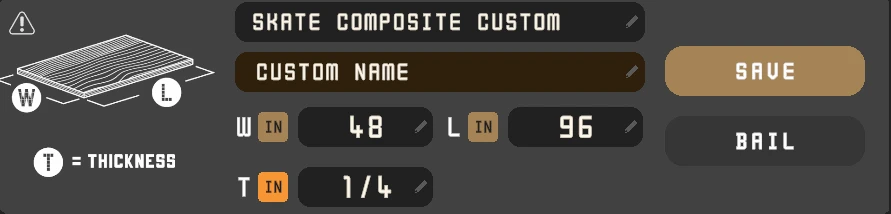
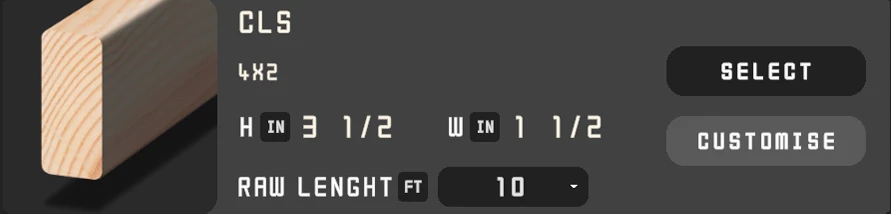
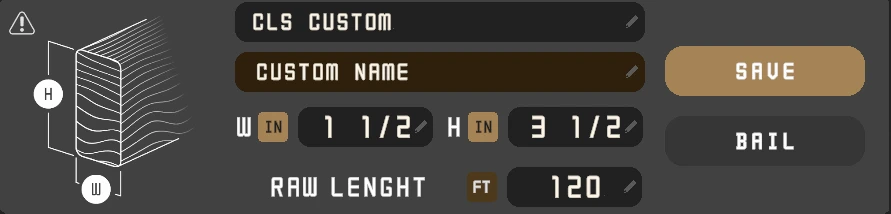
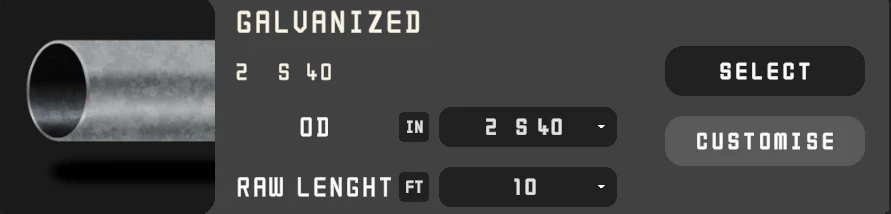
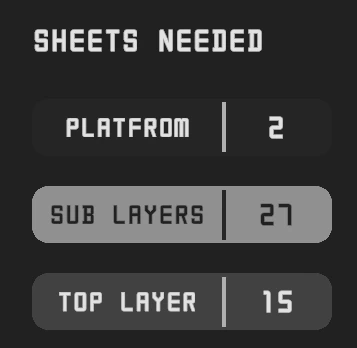
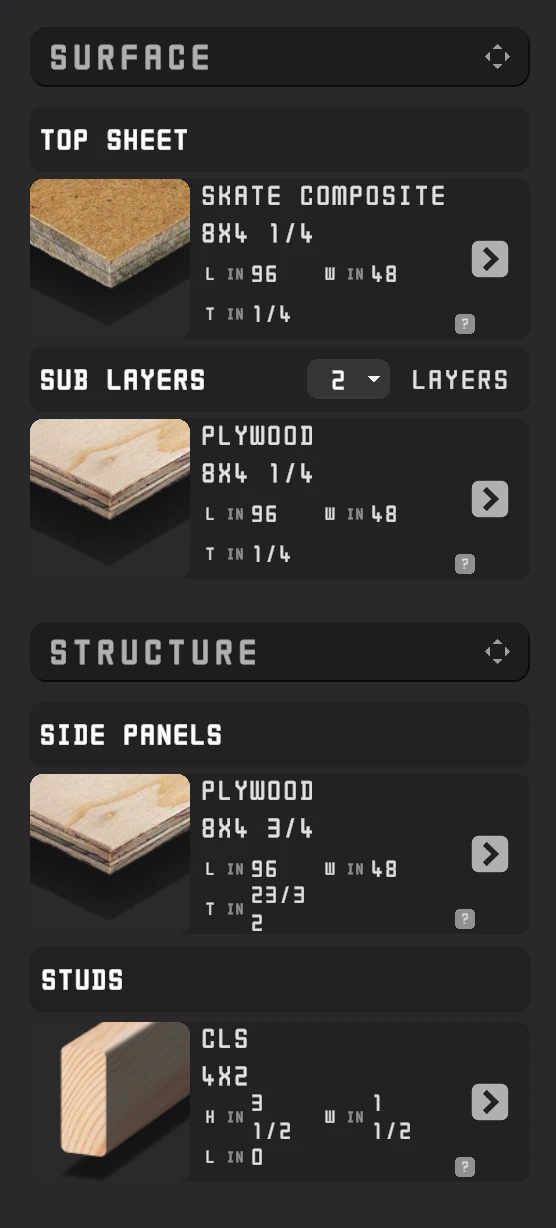
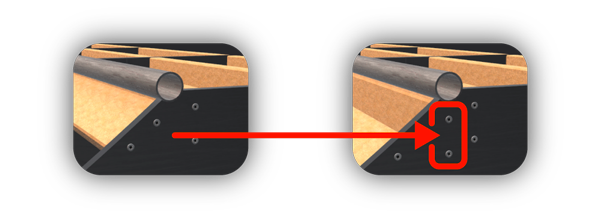
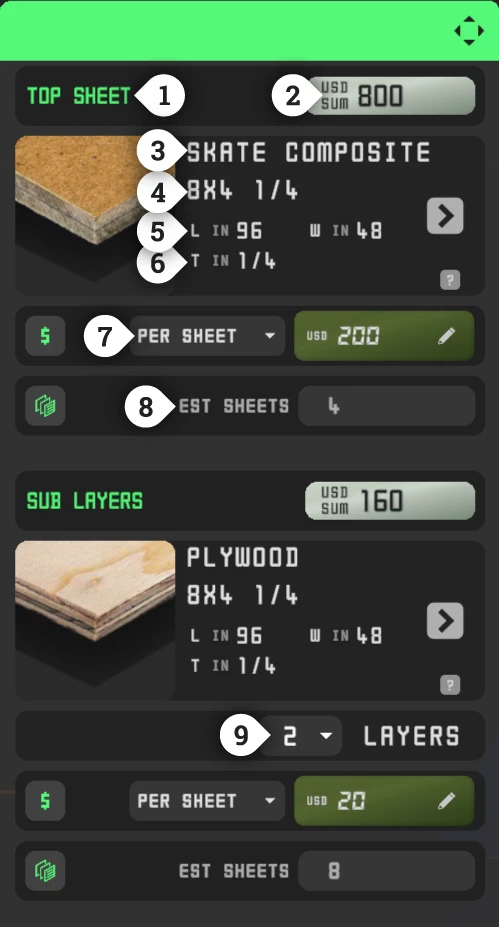
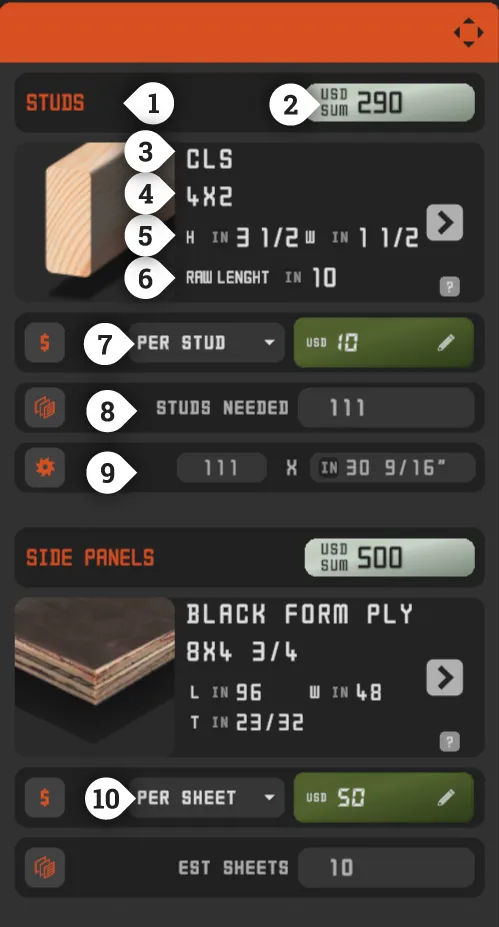
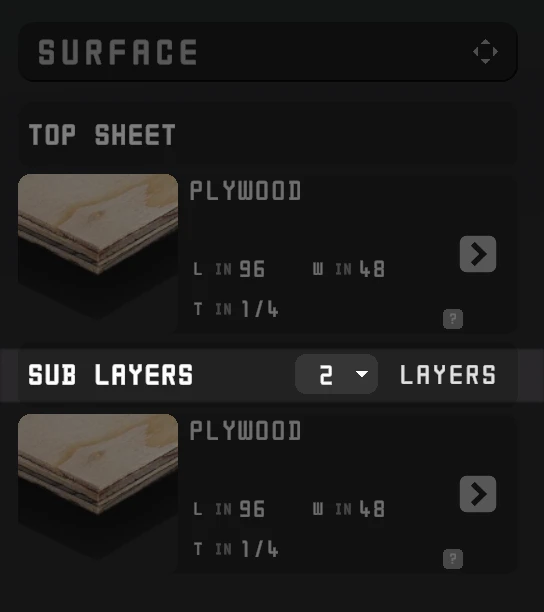
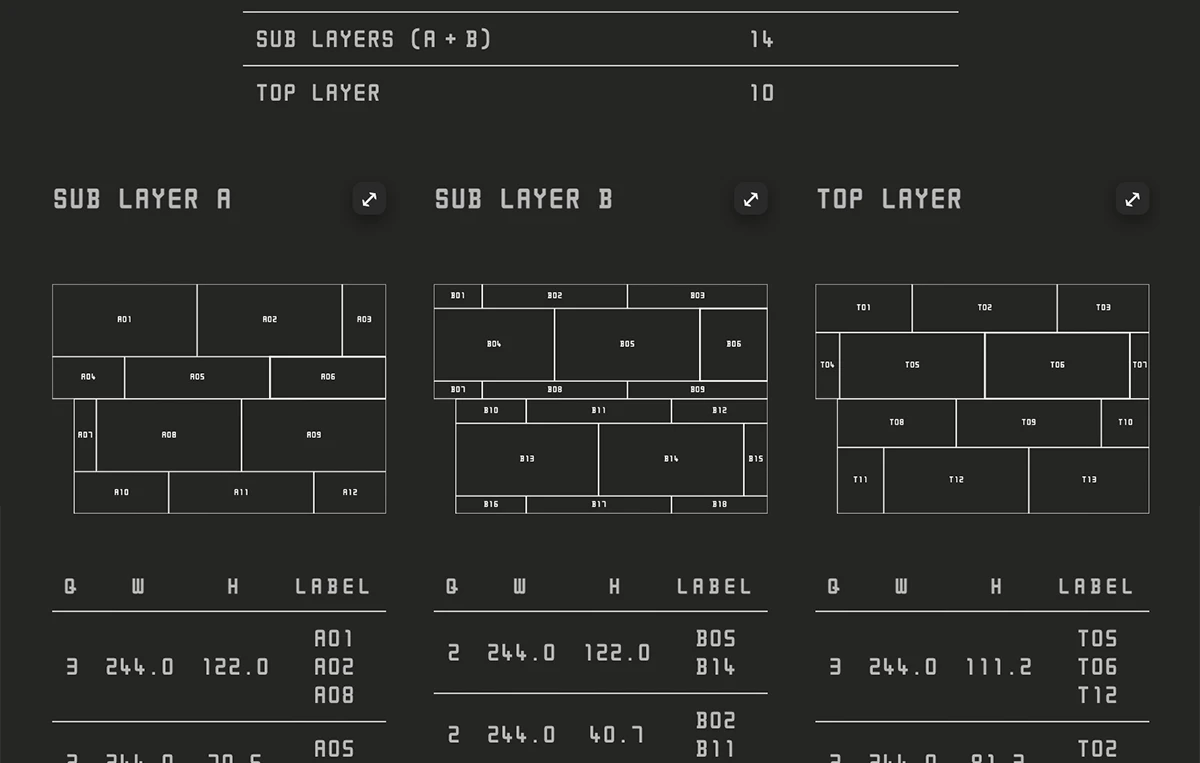
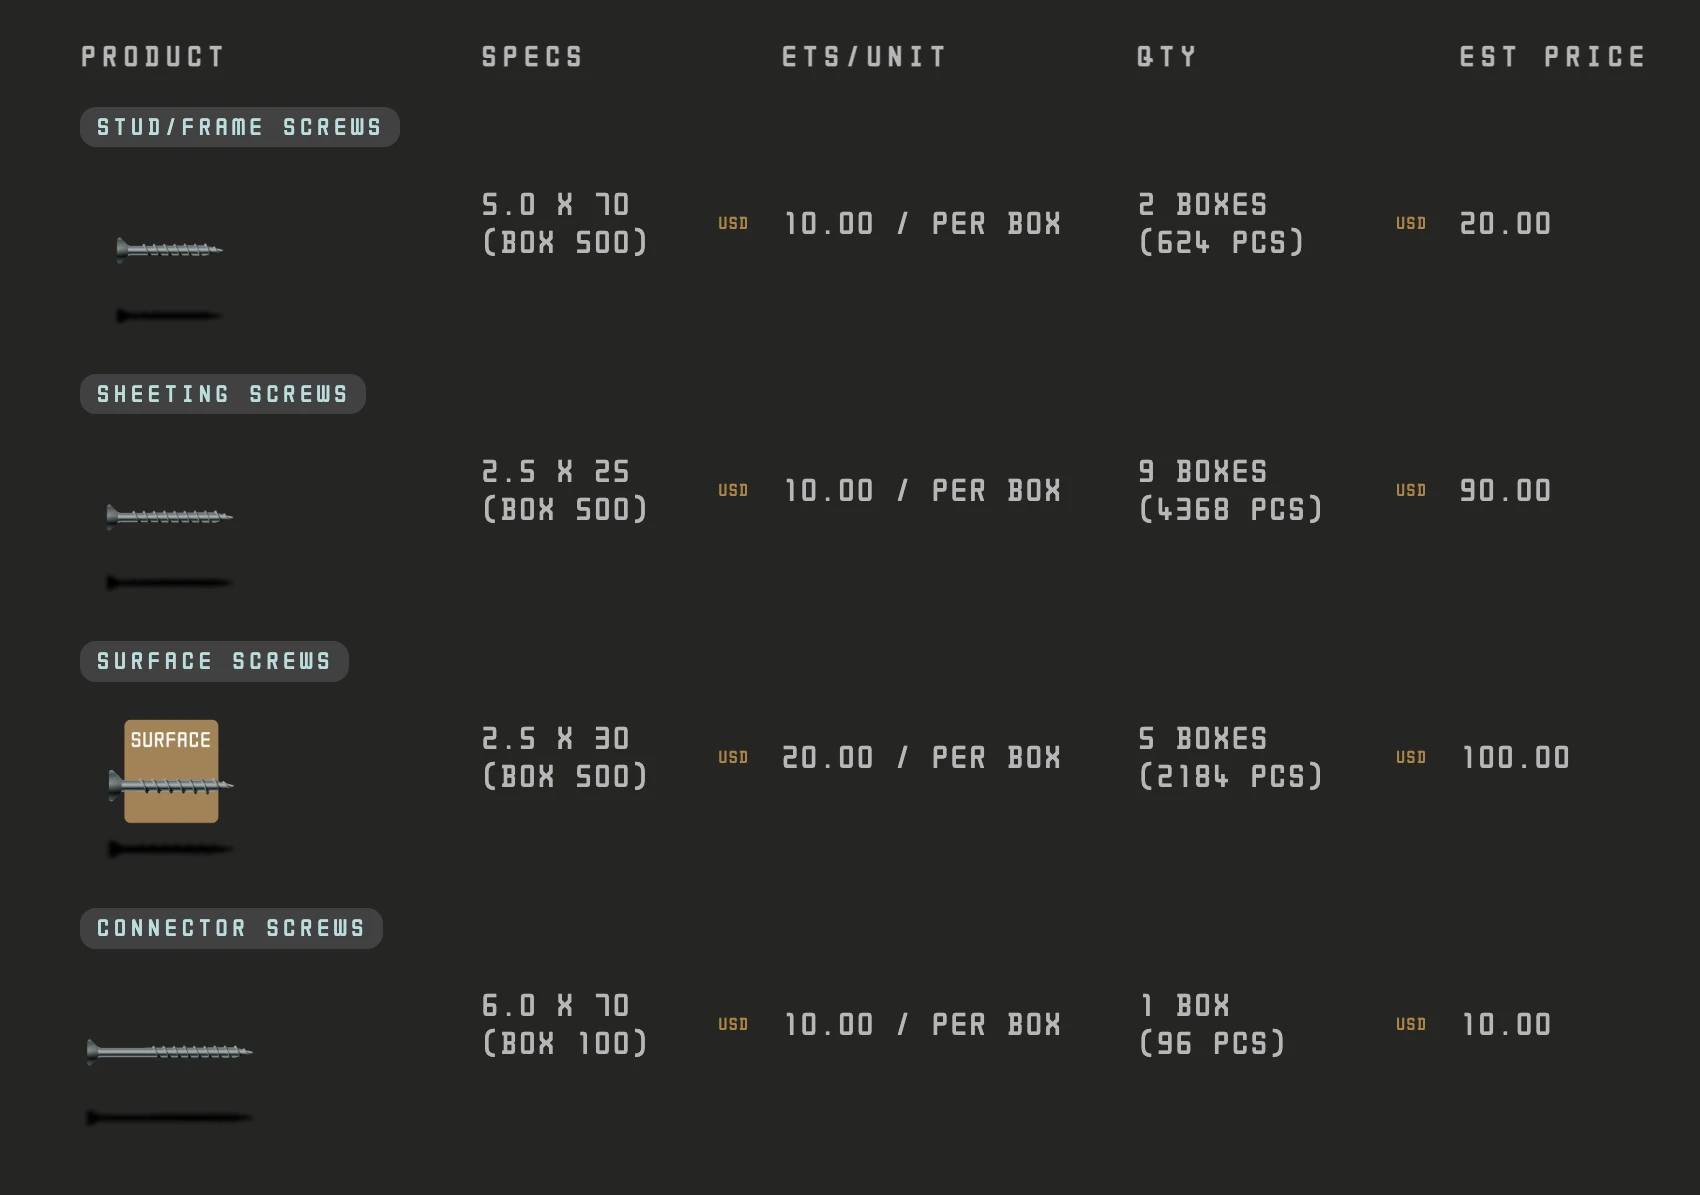
6 Lumber
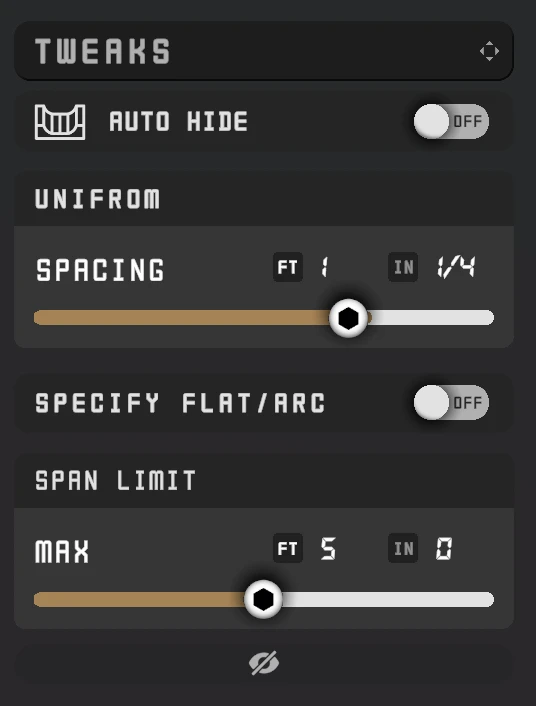
Structural wood sizes & spacing. Changes geometry.
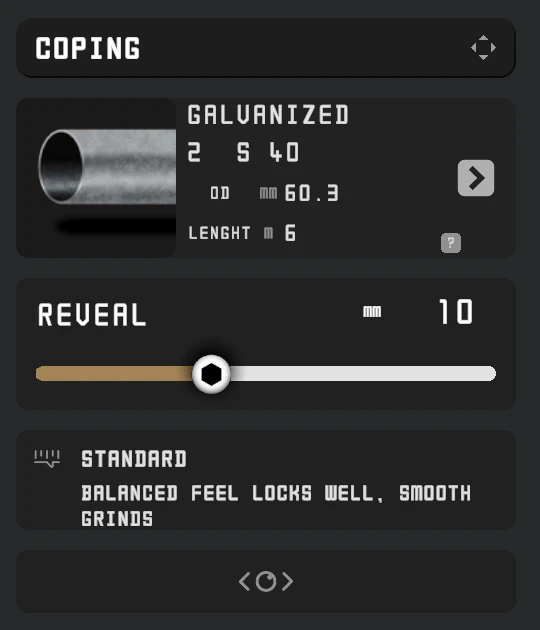
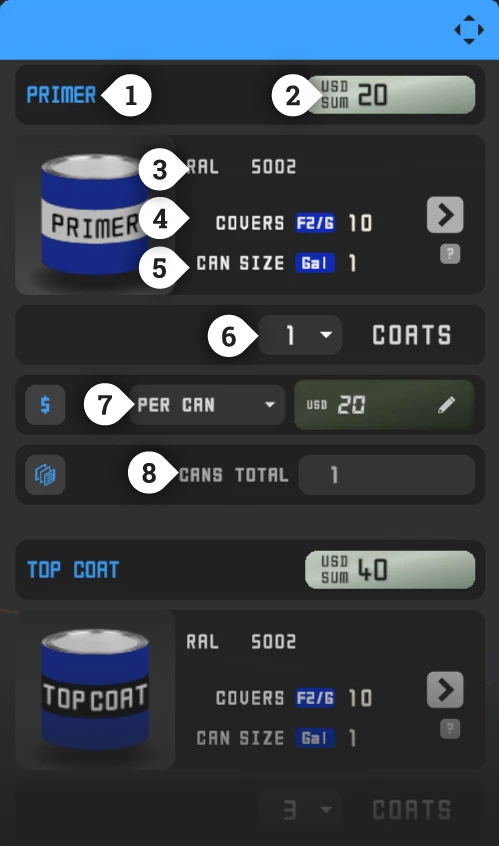
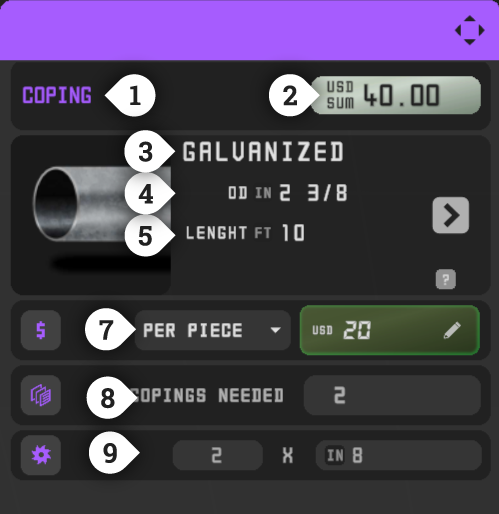
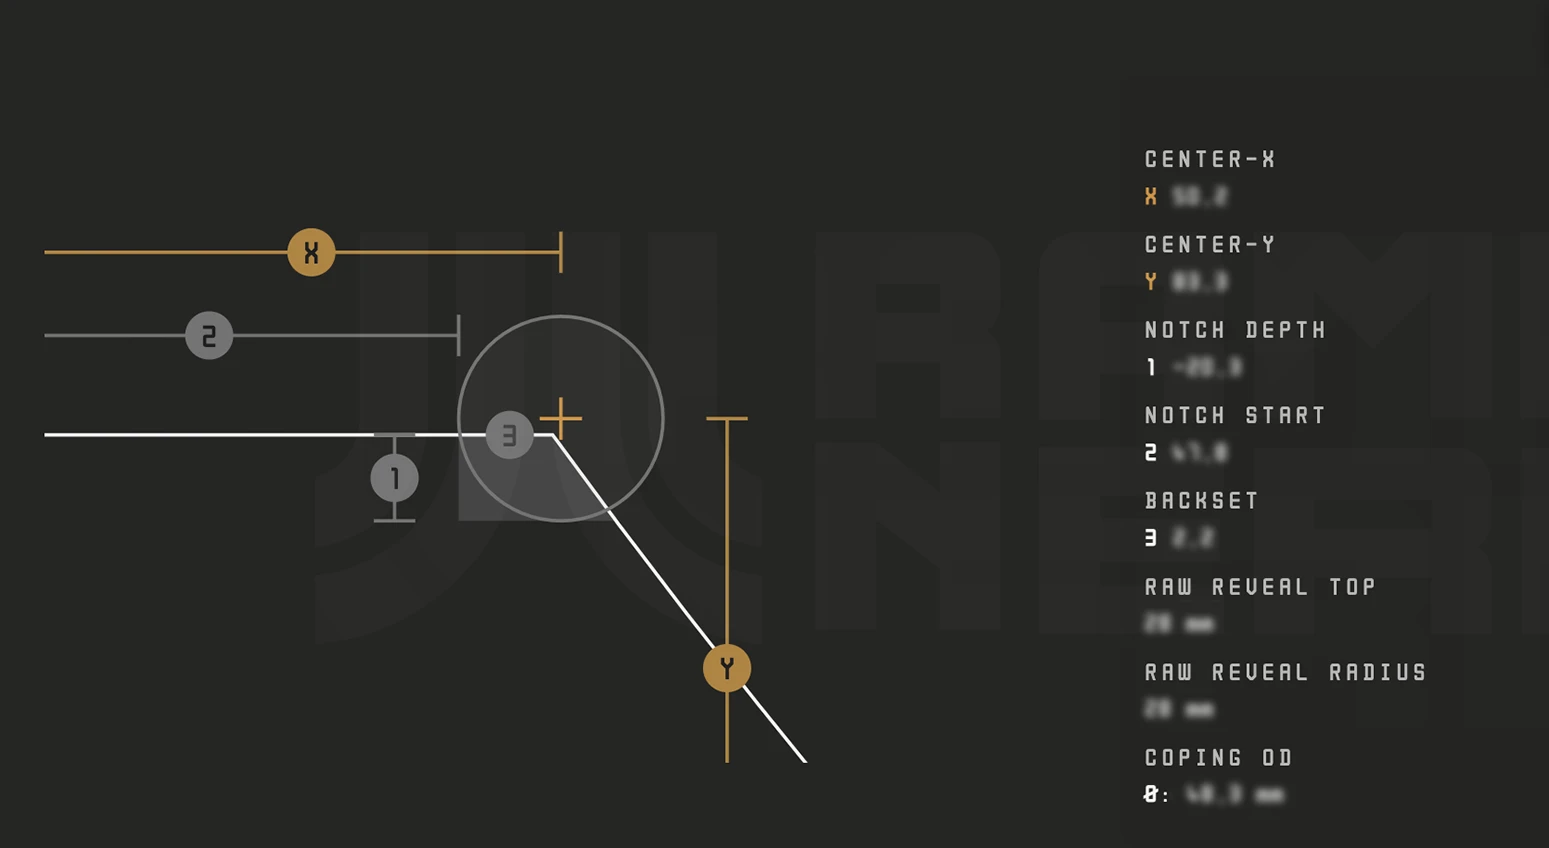
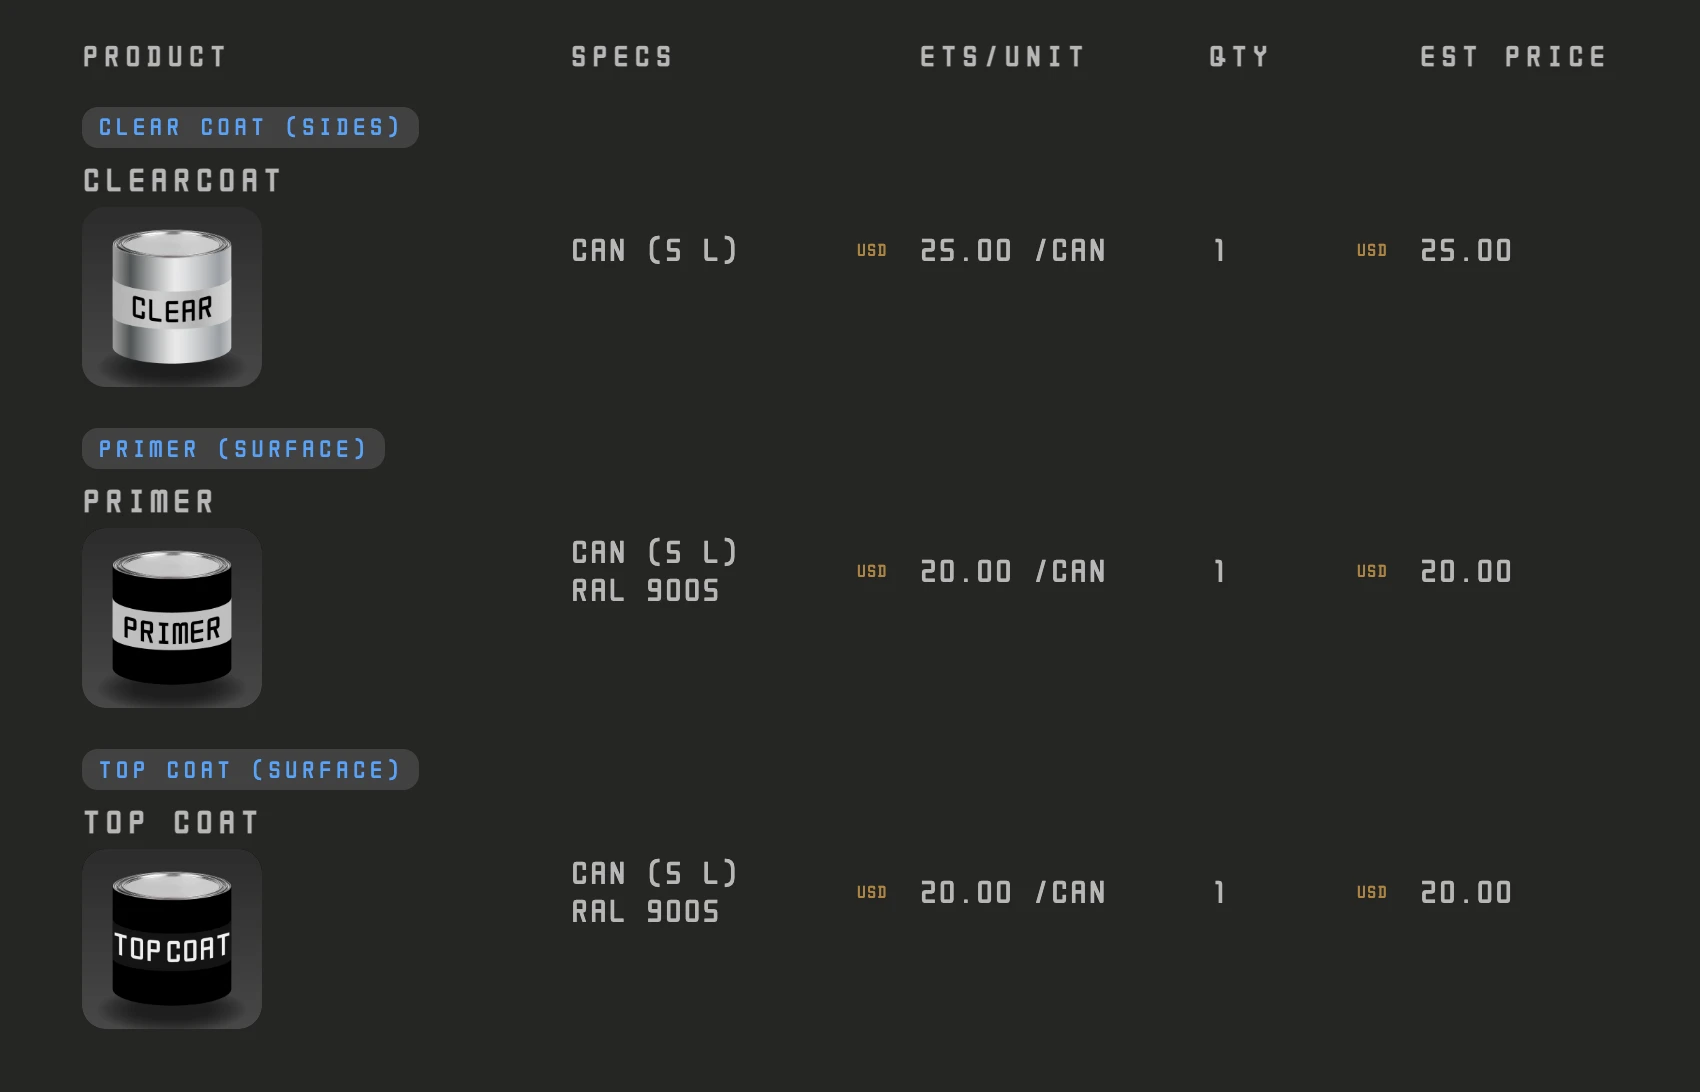
7 Coping
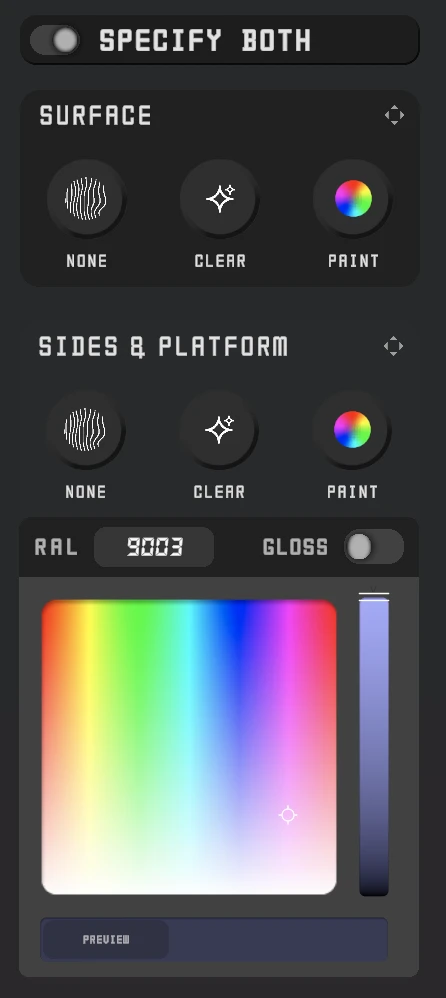
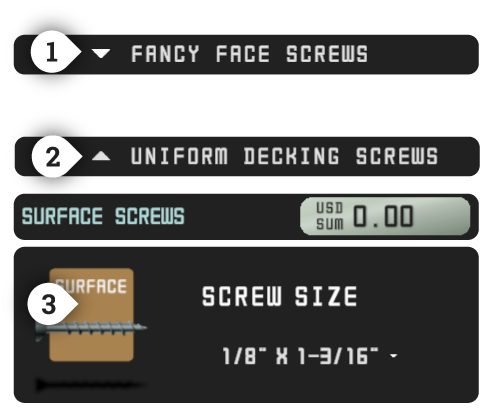
8 Finish
9 Next Panel
Optional.
Helpers
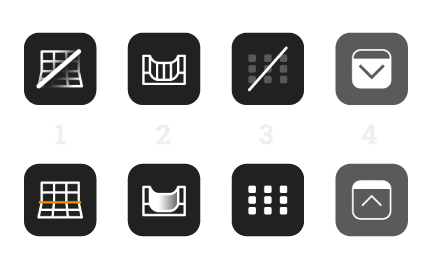
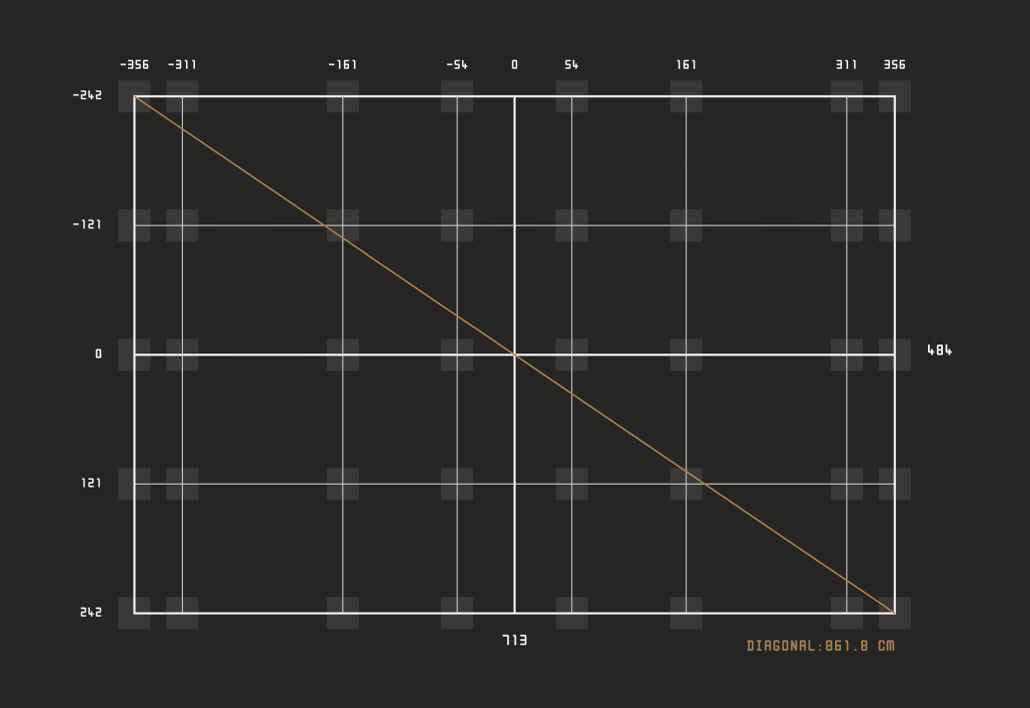
1 Show/Hide 3D Grid
Turns the ground grid on/off.
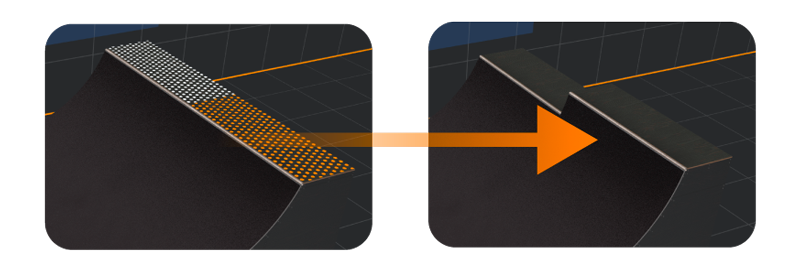
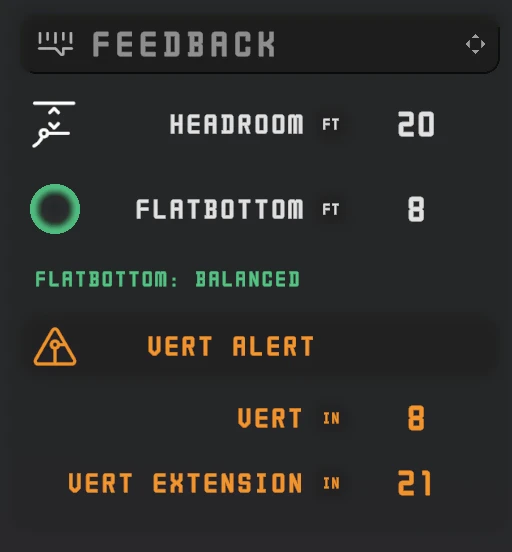
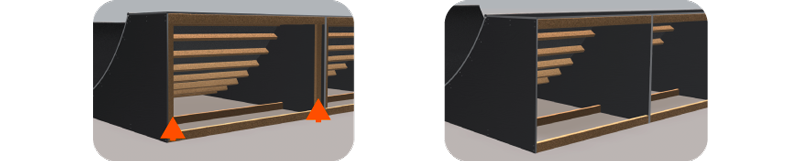
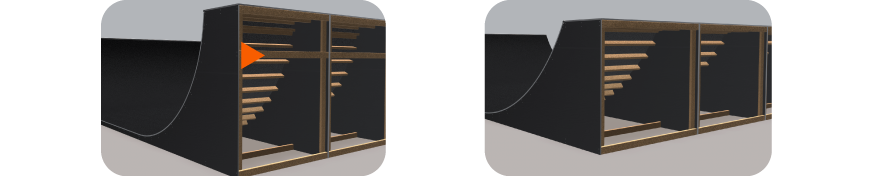
2 Show/Hide Surface
Hide sheets to inspect the frame.
3 Show/Hide Support Grid
Toggle foundation/support guides.
4 Show/Hide UI Panels
Clean view for screenshots.

5 Dark/Light Toggle
Useful for visualization. Appears only if the 3D grid is hidden.

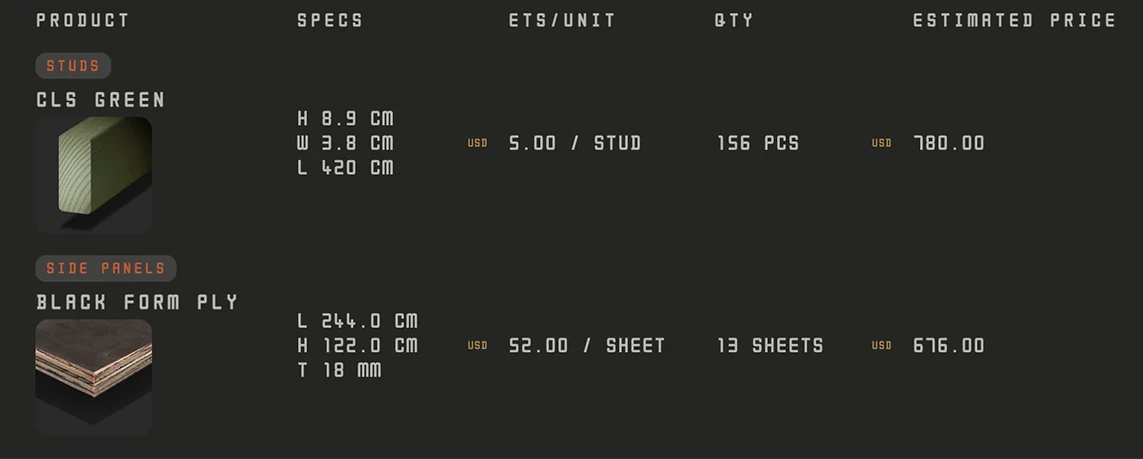
Grand Total
Live estimate. Click to open the Planner.